
ติดตั้ง HIKVISION DS-7608NXI-K2/VPRO ได้ง่าย ได้ผลจริง | กล้องวงจรปิด SME
ในยุคที่ความปลอดภัยเป็นหัวใจสำคัญของธุรกิจ กล้องวงจรปิดไม่ใช่แค่เครื่องมือป้องกัน แต่คือระบบดิจิทัลที่ช่วยเพิ่มประสิทธิภาพการบริหารจัดการ สำหรับธุรกิจ SME ที่ต้องการระบบกล้องที่เชื่อถือได้ ติดตั้งง่าย และควบคุมได้ครบวงจร การเลือก NVR รุ่น HIKVISION DS-7608NXI-K2/VPRO คือคำตอบที่ดีที่สุด บทความนี้จะพาคุณไปรู้จักกับ NVR 8 ช่องรุ่น K Series ที่มาพร้อมเทคโนโลยี AcuSense และ AcuSeek ที่ช่วยตัดสัญญาณเตือนปลอม เพิ่มความแม่นยำในการตรวจจับวัตถุ เพื่อให้ธุรกิจของคุณปลอดภัย ควบคุมได้ทุกมุม และทำงานได้อย่างราบรื่น
คุณสมบัติ/ข้อมูลสำคัญของ HIKVISION DS-7608NXI-K2/VPRO
HIKVISION DS-7608NXI-K2/VPRO เป็น NVR ระดับ Professional ในตระกูล K Series ที่ออกแบบมาเพื่อรองรับธุรกิจขนาดกลางและเล็กโดยเฉพาะ โดยรองรับกล้องความละเอียดสูงถึง 8 เมกะพิกเซล และสามารถขยายช่องสัญญาณได้สูงสุดถึง 16 ช่องเมื่อเชื่อมต่อกล้อง HIKVISION รุ่นที่รองรับ Protocol ใหม่ได้อย่างลงตัว จุดเด่นที่สุดคือการใช้เทคโนโลยี AI ขั้นสูงอย่าง AcuSense ที่แยกแยะระหว่างมนุษย์ สัตว์ และยานพาหนะได้อย่างแม่นยำ ลดภาระการตรวจสอบวิดีโอจากสัญญาณรบกวน และ AcuSeek ที่ช่วยค้นหาภาพย้อนหลังได้รวดเร็วในบันทึกเหตุการณ์สำคัญ ทำให้การติดตั้ง HIKVISION DS-7608NXI-K2/VPRO เป็นทางเลือกที่คุ้มค่าที่สุดในตลาด
- รองรับกล้องความละเอียดสูงสูงสุด 8MP และรองรับการบันทึกแบบ H.265+ เพื่อประหยัดพื้นที่จัดเก็บข้อมูลได้มากถึง 70%
- มาพร้อมกับเทคโนโลยี AcuSense ที่แยกแยะคนและรถได้จริง ลดการแจ้งเตือนผิดพลาดจากสัตว์หรือเงาสะท้อน
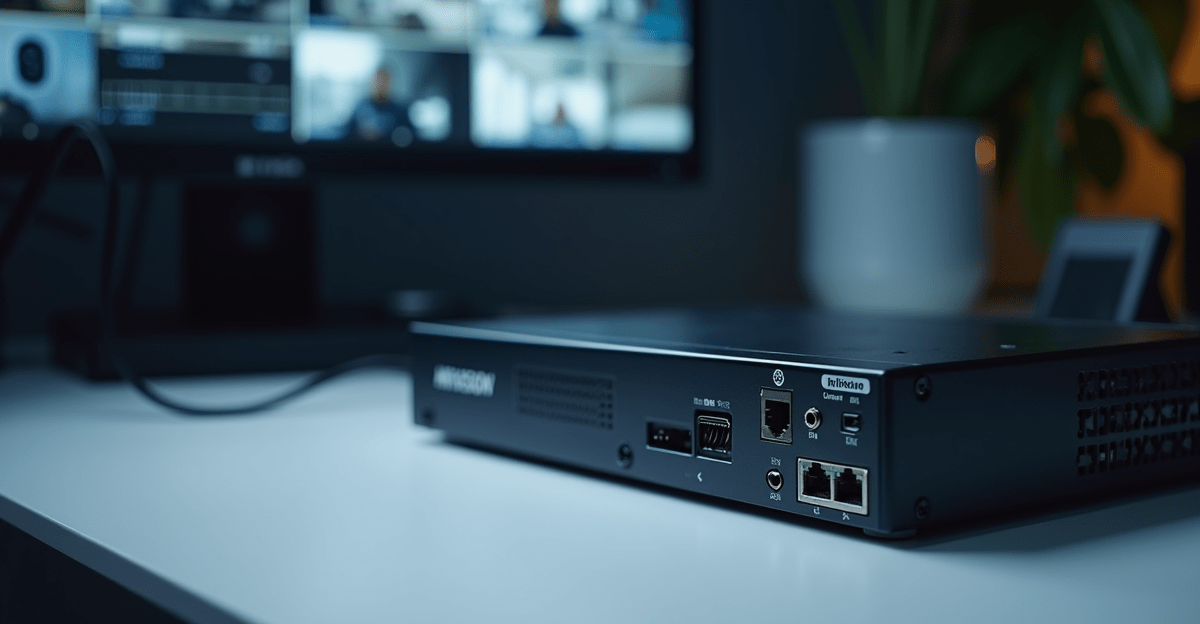
- รองรับการเชื่อมต่อกล้องผ่าน PoE (Power over Ethernet) ผ่านพอร์ต LAN ด้านหลังเพื่อจ่ายไฟและส่งข้อมูลในสายเดียว
- ระบบรักษาความปลอดภัยข้อมูลด้วยการเข้ารหัส AES-128 บิต ป้องกันการเข้าถึงข้อมูลโดยไม่ได้รับอนุญาต
- รองรับการใช้งานผ่านแอปพลิเคชัน Hik-Connect และ iVMS-4200 สำหรับตรวจสอบภาพสดจากมือถือได้ทุกที่
- มีช่องต่อสำหรับ Hard Disk SATA ความจุสูง รองรับ RAID 0, 1, 5 และ 10 เพื่อความมั่นคงของข้อมูล
การใช้งานและประโยชน์ของระบบ NVR รุ่น K Series
การนำ HIKVISION DS-7608NXI-K2/VPRO มาใช้งานจริงในธุรกิจ SME ช่วยเปลี่ยนจากการเฝ้าระวังแบบเดิมๆ ไปสู่ระบบการจัดการความปลอดภัยอัจฉริยะ ผู้ใช้งานสามารถเข้าถึงข้อมูลภาพได้ทันทีผ่านเครือข่ายอินเทอร์เน็ต ไม่ว่าคุณจะอยู่ที่สำนักงานหรือเดินทางต่างจังหวัด ระบบนี้ยังช่วยลดต้นทุนการดูแลรักษา เนื่องจากเทคโนโลยีการบันทึกแบบ H.265+ ทำให้ฮาร์ดดิสก์มีอายุการใช้งานยาวนานขึ้น และลดความถี่ในการเปลี่ยนอุปกรณ์ลงบันทึกภาพได้อย่างมีประสิทธิภาพ
การตรวจจับอัจฉริยะลดภาระงาน
ด้วยฟีเจอร์ AcuSense ที่ฝังมาในเครื่อง NVR รุ่นนี้ ทำให้ผู้ดูแลระบบไม่ต้องเสียเวลาตรวจสอบวิดีโอจากสัญญาณเตือนเท็จที่เกิดจากแมลง สัตว์เลี้ยง หรือการเคลื่อนไหวของใบไม้ที่ปลิวไสว ระบบจะส่งการแจ้งเตือนไปยังมือถือเฉพาะเมื่อมีบุคคลหรือยานพาหนะปรากฏในเขตที่กำหนดเท่านั้น ซึ่งช่วยเพิ่มประสิทธิภาพการทำงานของทีมรักษาความปลอดภัยได้อย่างมหาศาล
การค้นหาข้อมูลย้อนหลังแบบรวดเร็ว
เมื่อเกิดเหตุการณ์ไม่คาดฝัน การค้นหาวิดีโอในบันทึกหลายวันเป็นเรื่องยาก แต่ระบบ AcuSeek จะช่วยคุณกรองและค้นหาภาพที่เกี่ยวข้องกับเหตุการณ์ภายในไม่กี่วินาที โดยไม่ต้องเปิดดูวิดีโอทั้งเทป ทำให้การตรวจสอบข้อเท็จจริงหรือการส่งหลักฐานให้เจ้าหน้าที่ตำรวจทำได้อย่างรวดเร็วและแม่นยำ
แนะนำและเปรียบเทียบ HIKVISION DS-7608NXI-K2/VPRO
เพื่อให้เห็นภาพชัดเจนว่าทำไม HIKVISION DS-7608NXI-K2/VPRO จึงเป็นตัวเลือกที่โดดเด่นกว่ารุ่นทั่วไปหรือรุ่นเก่าในตระกูลเดิม ลองเปรียบเทียบคุณสมบัติสำคัญในตารางด้านล่างนี้ เพื่อประกอบการตัดสินใจในการติดตั้ง HIKVISION DS-7608NXI-K2/VPRO สำหรับธุรกิจของคุณ
- รุ่น DS-7608NXI-K2/VPRO: รองรับ 8MP, มี AcuSense/AcuSeek, บันทึก H.265+, รองรับ PoE 16 ช่อง (เมื่อใช้กล้องคู่), RAID Support, เหมาะกับ SME ระดับกลางที่ต้องการระบบ AI
- รุ่น DS-7608NI-K2 (รุ่นเก่า): รองรับสูงสุด 4MP, ไม่มีเทคโนโลยีแยกแยะคน/รถ, บันทึก H.265, ไม่รองรับ PoE แบบเต็มรูปแบบในบางรุ่น, RAID ไม่รองรับ, เหมาะกับธุรกิจขนาดเล็ก
- รุ่น NVR ทั่วไป (Non-AI): รองรับความละเอียดตามสเปก, แจ้งเตือนทุกการเคลื่อนไหว (False Alarm สูง), ใช้พื้นที่จัดเก็บข้อมูลมาก, ไม่สามารถค้นหาภาพด้วย AI ได้
จะเห็นได้ว่าความแตกต่างที่ชัดเจนที่สุดคือเทคโนโลยี AI และความสามารถในการจัดการข้อมูลที่เหนือกว่า ซึ่งส่งผลโดยตรงต่อความคุ้มค่าในระยะยาวของธุรกิจ
วิธีการเลือกและข้อควรพิจารณา
ก่อนตัดสินใจติดตั้ง HIKVISION DS-7608NXI-K2/VPRO คุณควรพิจารณาขนาดของพื้นที่และจำนวนกล้องที่ต้องการใช้งานจริง โดยรุ่นนี้รองรับกล้องได้สูงสุด 8 ตัวในเครื่องเดียว แต่สามารถขยายได้หากใช้กล้อง HIKVISION รุ่นที่รองรับโปรโตคอลใหม่ หากพื้นที่ของคุณมีขนาดกลางถึงใหญ่ การลงทุนกับระบบที่มีเทคโนโลยี AcuSense จะช่วยลดความผิดพลาดในการเฝ้าระวังได้มากกว่าระบบทั่วไป นอกจากนี้ ควรคำนวณขนาดความจุของฮาร์ดดิสก์ให้เหมาะสมกับระยะเวลาที่ต้องการเก็บภาพย้อนหลัง โดยปกติควรสำรองพื้นที่สำหรับบันทึกอย่างน้อย 30 วัน และควรเลือกผู้ให้บริการติดตั้งที่มีมาตรฐาน เพื่อการตั้งค่าระบบเครือข่ายและกล้องที่ถูกต้องและปลอดภัยสูงสุด
สรุป
การติดตั้ง HIKVISION DS-7608NXI-K2/VPRO คือการยกระดับความปลอดภัยของธุรกิจ SME ให้ทันสมัยและน่าเชื่อถือด้วยเทคโนโลยี AI ที่แม่นยำ ลดปัญหาสัญญาณเตือนผิดพลาด และเพิ่มประสิทธิภาพในการตรวจสอบข้อมูลย้อนหลัง ระบบนี้ตอบโจทย์ธุรกิจที่ต้องการความคุ้มค่า ติดตั้งง่าย และใช้งานได้จริงในทุกสถานการณ์ การเลือกใช้ NVR รุ่น K Series จาก HIKVISION จึงเป็นกลยุทธ์สำคัญในการบริหารจัดการความเสี่ยงขององค์กร
หากคุณกำลังมองหาอุปกรณ์ระบบกล้องวงจรปิดคุณภาพสูง พร้อมบริการติดตั้งและดูแลโดยทีมมืออาชีพ CYN Communication พร้อมให้คำปรึกษาและจำหน่ายอุปกรณ์ครบวงจร ติดต่อเราวันนี้เพื่อรับข้อเสนอพิเศษและคำแนะนำที่เหมาะกับธุรกิจของคุณ
🔗 บทความที่เกี่ยวข้อง
- Complete Setup Guide for Hikvision DS-7616NXI-K2/VPRO NVR for SME Businesses
- Complete Installation and Configuration Guide for HIKVISION IDS-7204HQHI-M1/T: Factory and Warehouse Setup
- Step-by-Step Guide to Installing & Configuring HIKVISION DS-2CD3047G3-LIU(4MM)#DEMO for Offices & Co-working Spaces
- Step-by-Step Guide to Installing and Configuring HIKVISION DS-KAS-7M01 for Schools & Universities